
What are the steps to install a generic fishfinder?
Key Takeaways
- The first step in installing a generic fishfinder is to unpack the transducer cord and ensure it is in good condition.
- The second step is to snugly secure the transducer to the transducer board or mounting bracket to maintain proper alignment during installation.
- The third step is to mount the transducer board onto the transom or hull of the boat in a deep and obstruction-free location, following the manufacturer’s instructions.
If you’re an avid angler who loves spending time on the water, a fishfinder can be a valuable tool to help you locate fish and improve your chances of a successful catch. Installing a fishfinder on your boat may seem like a daunting task, but with the right guidance and a few simple steps, you can have it up and running in no time.
Before we dive into the installation process, it’s important to note that the steps provided here are a general guide for installing a generic fishfinder. It’s always recommended to consult the manufacturer’s instructions or owner’s manual specific to your fishfinder model for detailed guidance. Now, let’s get started!
Step 1: Unpack the transducer cord
The transducer is a crucial component of your fishfinder as it sends and receives signals to detect fish and underwater structures. Begin by unpacking the transducer cord and ensuring it’s in good condition without any tangles or damage.
Step 2: Snug the transducer
Next, securely snug the transducer to the transducer board or mounting bracket. This ensures that it stays in place and maintains proper alignment during installation.
Step 3: Install the transducer board
Mount the transducer board onto the transom or hull of your boat using screws or adhesive, following the manufacturer’s instructions. It’s important to choose a location that is deep and free from obstructions or items that disrupt water flow.
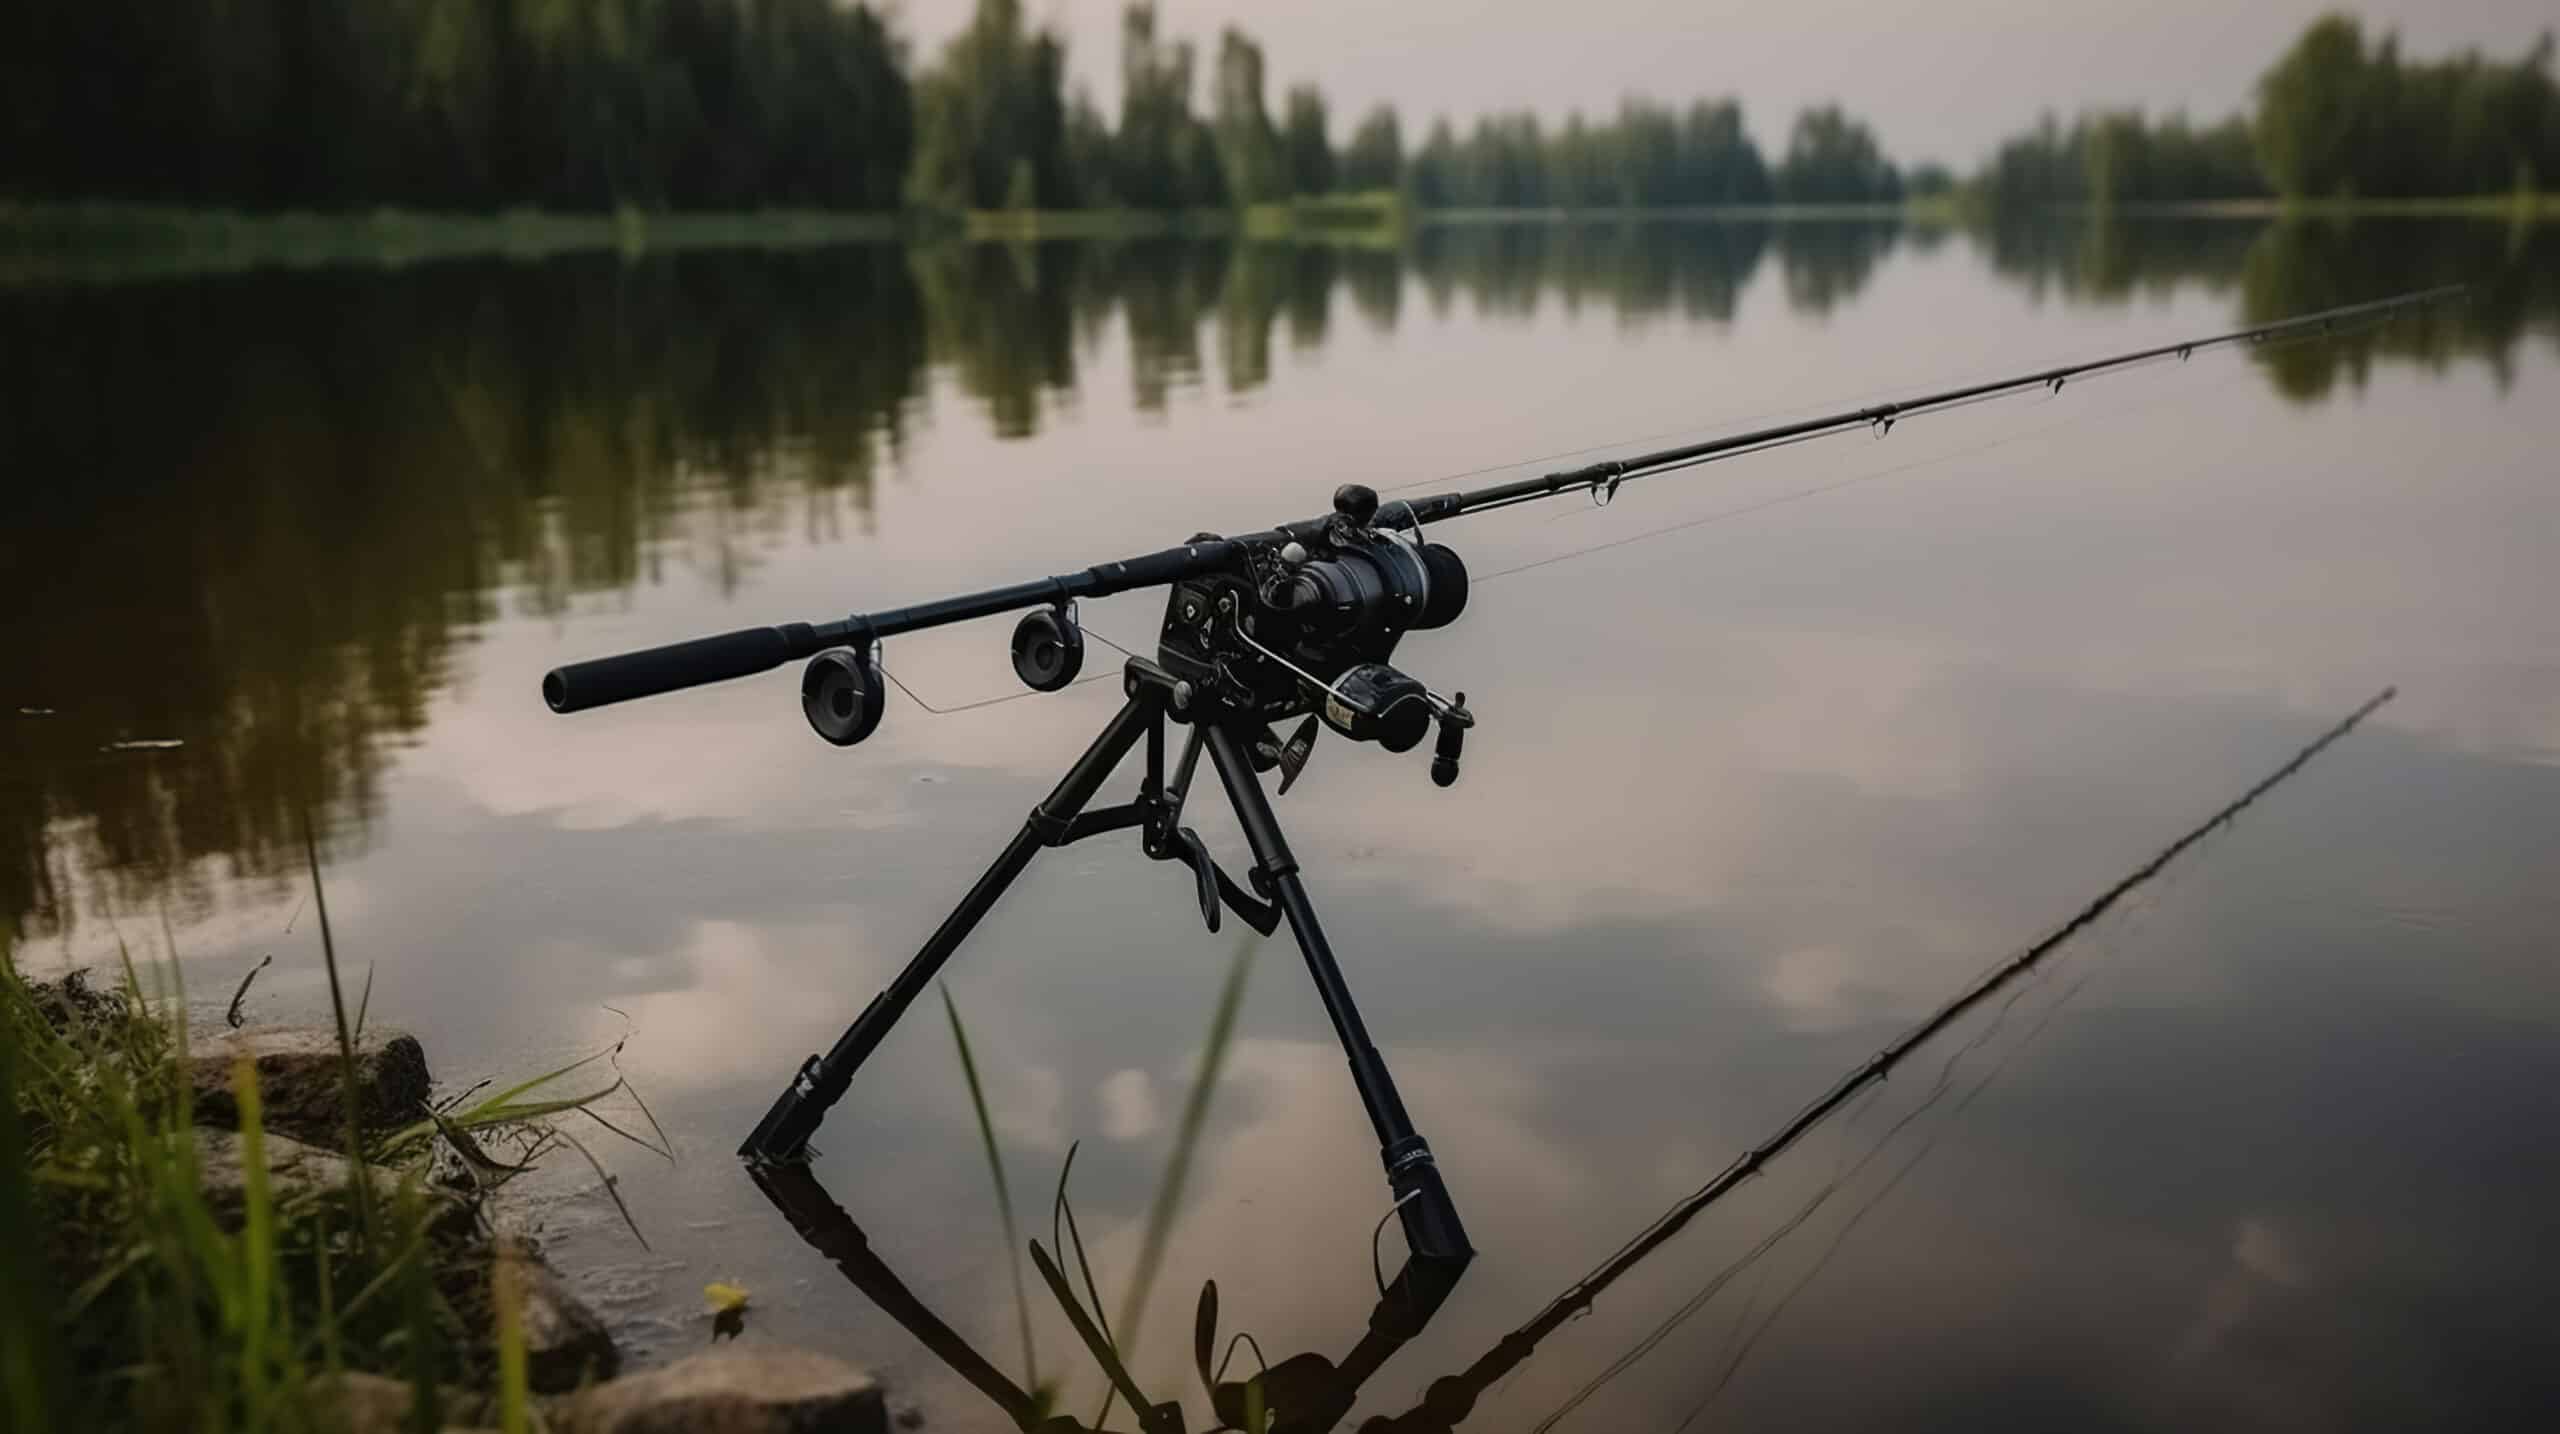
Step 4: Mount the fish finder
Find a suitable location on your boat’s helm for mounting the fishfinder. It’s best to keep it centered for optimal viewing angle and avoid overhead mounting locations that may obstruct your line of sight.
Step 5: Run the transducer cables
Carefully run the transducer cables from the transducer to the fishfinder unit, ensuring they are secured and protected along the way. Avoid bundling the transducer cables with other wiring to minimize electrical interference.
Step 6: Use a fish tape trick
If running the transducer cables through tight spaces or conduits is challenging, a useful trick is to attach them to a fish tape, a flexible wire used for fishing wires through walls. This makes it easier to navigate the cables through narrow passages.
Step 7: Label the sub-panel
Label the sub-panel or any other wiring connections you make during the installation process. This ensures easy identification and troubleshooting in the future.
Step 8: Countersink the hole
If you need to drill a hole for wiring or mounting, make sure to countersink the hole to prevent any sharp edges that could damage the cables or interfere with the fishfinder’s performance.
Following these steps will give you a general idea of how to install a generic fishfinder. However, it’s crucial to refer to the specific instructions provided by your fishfinder’s manufacturer for accurate and detailed guidance.
Related Websites:
FAQs:
Q: What is a fishfinder and why is it important to install it correctly?
A fishfinder is a device used by anglers to locate fish underwater. Installing it correctly is important to ensure accurate readings and effective use. Proper installation helps optimize the performance of the fishfinder and enhances your fishing experience.
Q: How do fishfinders work and what are their different types and features?
Fishfinders work by emitting sonar waves into the water and analyzing the reflected signals to identify underwater objects, including fish. They come in different types such as standalone units or those integrated with chartplotters. Features can include GPS, CHIRP technology, down imaging, and more.
Q: What are the necessary preparations before installing a fishfinder?
Before installation, you should research and gather the necessary tools and materials. Additionally, choose an ideal location on your boat to mount the fishfinder display unit, considering factors like visibility and accessibility.
Q: How do I properly install and mount the transducer?
The transducer is vital for fishfinding. It can be mounted in different ways, such as on the transom, through-hull, or in a portable configuration. Follow step-by-step instructions provided by the manufacturer to ensure correct installation and optimal performance.
Q: How do I wire and connect the fishfinder to the boat’s electrical system?
Proper wiring and power supply are crucial for the fishfinder. Connect it to the boat’s electrical system following the manufacturer’s instructions. It is important to use appropriate wiring connectors and ensure proper insulation to avoid any electrical issues.